Your air conditioner works hard to keep you cool and also pulls gallons of water from your home’s air each day. This water, called condensate, must drain away safely. An AC float switch is a small, inexpensive safety device that makes sure it does.
Its sole job is to stop your AC unit if the drain system backs up, preventing water from overflowing and damaging your ceiling, walls, or HVAC system itself. This guide explains how an AC float switch works, why it fails, and how you can respond effectively.
How Does an AC Float Switch Actually Work?
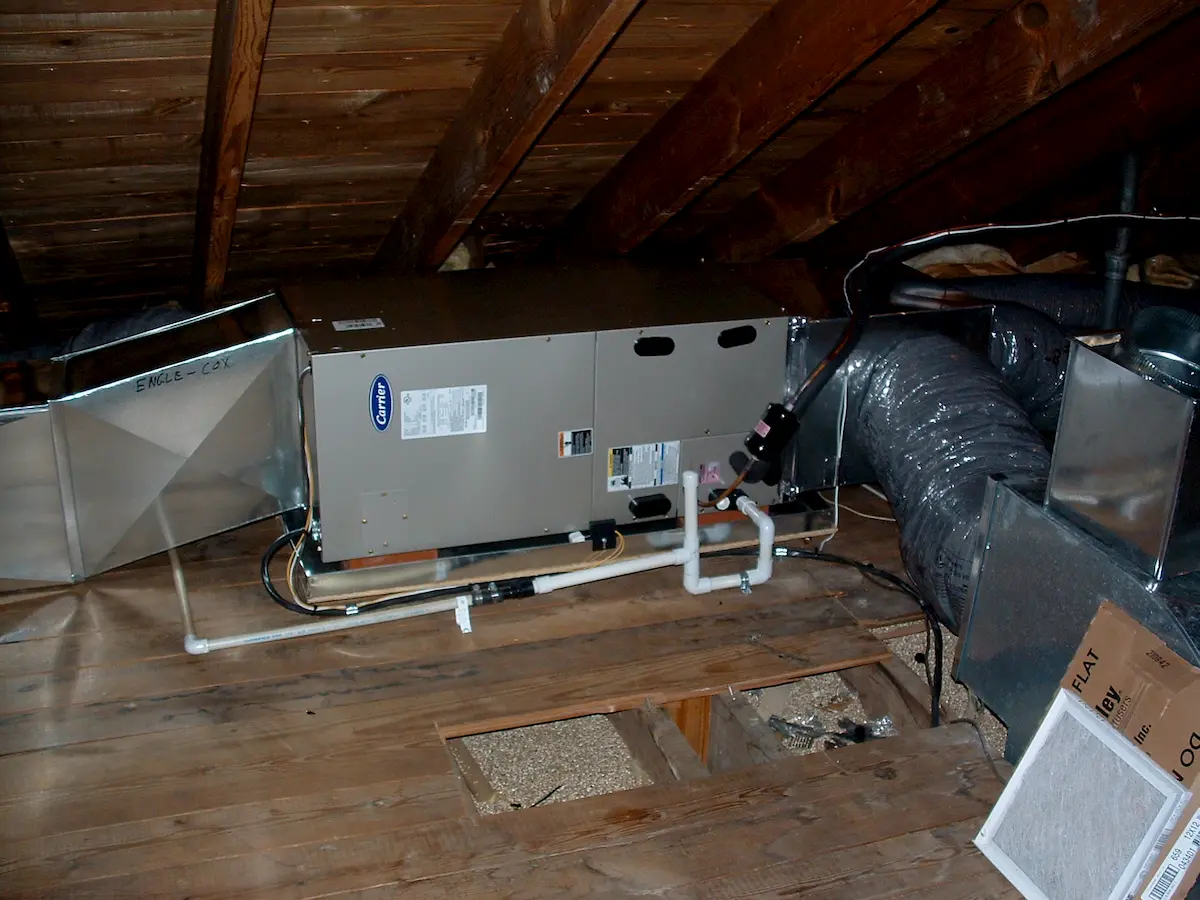
The principle is simple. The switch is installed in your AC’s primary drain line, secondary drain pan, or sometimes both. Inside is a small float, like a bobber. When water in the pan or line rises to a specific level, the float rises with it.
This physical movement triggers an internal magnetic reed switch to open an electrical circuit. This break in the 24-volt control circuit signals your AC to stop cooling.
Your system will not restart until you clear the blockage and manually reset the switch. This failsafe mechanism exists solely to protect your home from flooding.
The Reasons Your AC Float Switch Trips
A tripped float switch is always a symptom of a problem. It is not the problem itself. Here are the four most common culprits we see in Arizona homes.
Reason 1: A Clogged Condensate Drain Line
This is the most frequent cause. Over time, algae, mold, dust, and even insect nests can build up inside the PVC drain line. In Arizona’s dry climate, sludge can harden and create a complete blockage. When water cannot flow out, it pools in the drain pan until the float rises and trips the switch.
Reason 2: A Misaligned, Stuck, or Faulty Switch
The float mechanism can fail. Mineral deposits or debris can jam the float in the “up” position, causing a false trip. Alternatively, the float can become detached or the internal switch can wear out. If your drain line is clear but the switch remains tripped, a faulty switch is likely.
Reason 3: A Damaged or Rusted-Out Drain Pan
The metal drain pan beneath your air handler can corrode over years of exposure to moisture. A small crack or hole will cause water to leak out before it ever reaches the level needed to trip the float switch. You end up with water damage even though the safety device never activated.
Reason 4: Improper Installation or Placement
For a float switch to work, water must flow toward it. If the drain pan is not perfectly level, water may pool in a corner and spill over before reaching the float. Furthermore, building codes like the International Mechanical Code (IMC) often specify proper placement, such as requiring it in the secondary drain port, not the primary. Incorrect installation renders it useless.
How to Reset a Tripped AC Float Switch?
Before you reset the switch, you must address the underlying blockage. Simply resetting it without fixing the cause will result in immediate retripping and potential overflow.
- Turn off your HVAC system.
Locate your thermostat and set it to “OFF.” For safety, also turn off the power to your indoor air handler at the circuit breaker. - Locate the float switch.
Find the drain line exiting your indoor air handler. The float switch is typically a small, rectangular box installed inline with this PVC pipe. You may also find one in the secondary drain pan under the unit. - Identify and clear the drain line clog.
- Find the drain line’s access point, usually a T-shaped vent or cleanout near the air handler.
- Remove the cap and slowly pour a cup of distilled white vinegar into the line. Let it sit for 30 minutes to dissolve algae.
- For stubborn clogs, use a wet/dry vacuum. Seal the vacuum hose over the drain line’s exit outside your home and create suction for a minute to pull the clog backward.
- Check the drain pan.
Inspect the metal pan under the air handler for cracks, holes, or standing water. If it’s rusted or damaged, it needs professional replacement. - Reset the switch.
Most switches have a prominent button or lever. Once the line is clear and the pan is empty, press the reset button or flip the lever back to its starting position. - Restore power and test.
Turn the circuit breaker and thermostat back on. Monitor the system to ensure water now flows freely out of the exterior drain line.
Float Switch vs. Wet Switch: Which is Better?
Some HVAC professionals, including ourselves, often recommend a “wet switch” as a more reliable alternative or complement to a traditional float switch. Here is a direct comparison.
The wet switch acts faster, potentially stopping a leak before the pan fills significantly. For maximum protection, a best-practice installation might include both: a wet switch in the primary pan for early warning and a float switch in the secondary drain line as a backup.
Smart Float Switches and Monitoring Solutions
A major pain point for homeowners is that a tripped float switch gives no alert, and you only discover it when your home gets hot. The HVAC and smart home industries are now addressing this. You can find Wi-Fi or Zigbee-enabled water sensors that pair with your home automation system.
These devices send an immediate notification to your phone if water is detected. Some technicians create hybrid solutions by wiring a traditional float switch to a smart leak sensor, so the AC shuts off and you get an alert.
Brands like YoLink offer wireless, battery-powered condensate leak alarms designed for this purpose. This solves the “silent failure” problem, especially crucial if you have pets or are away from home.
Professional Installation & Maintenance
While resetting a switch is a manageable DIY task, proper installation is best left to professionals. A technician ensures correct placement per code, proper wiring into your system’s control board, and that the device is level and functional.
For example, installing it in the secondary port, not the primary, is often a code requirement to prevent slime buildup on the float.
Proactive maintenance is your best defense.
FAQs
Can I install an AC float switch myself?
You can, but we do not recommend it. Incorrect wiring can damage your AC’s control board. More importantly, improper placement like in the primary drain or an unlevel installation can make the switch ineffective, giving you a false sense of security while water damage occurs. Professional installation guarantees it works as intended.
Where exactly should the float switch be located?
The “best” location depends on your setup and local code. Common strategies include placing it in the secondary drain port (to keep the float clean), in a secondary emergency drain pan, or even using two switches in series—one in the primary drain and one in the secondary pan—for ultimate protection. A licensed technician can determine the optimal strategy for your home.
How much does it cost to install or replace a float switch?
A replacement float switch itself costs between $15 and $40. With professional labor for installation or replacement, total costs typically range from $100 to $250. This is a minor investment compared to the thousands of dollars in water damage it prevents.
My switch trips constantly. What does this mean?
Frequent tripping is a red flag. It usually indicates a chronic drain line clog, an incorrectly sloped drain pipe, or a failing condensate pump if your system has one. It signals that your drainage system needs a professional cleaning and inspection to identify the root cause.